The Art of Melting Chocolate - a baker’s guide to mastering smooth, silky chocolate with confidence.

This post may contain affiliate links. As an Amazon Associate, I earn from qualifying purchases. Please see my disclosure policy for more on affiliate links and my policies.
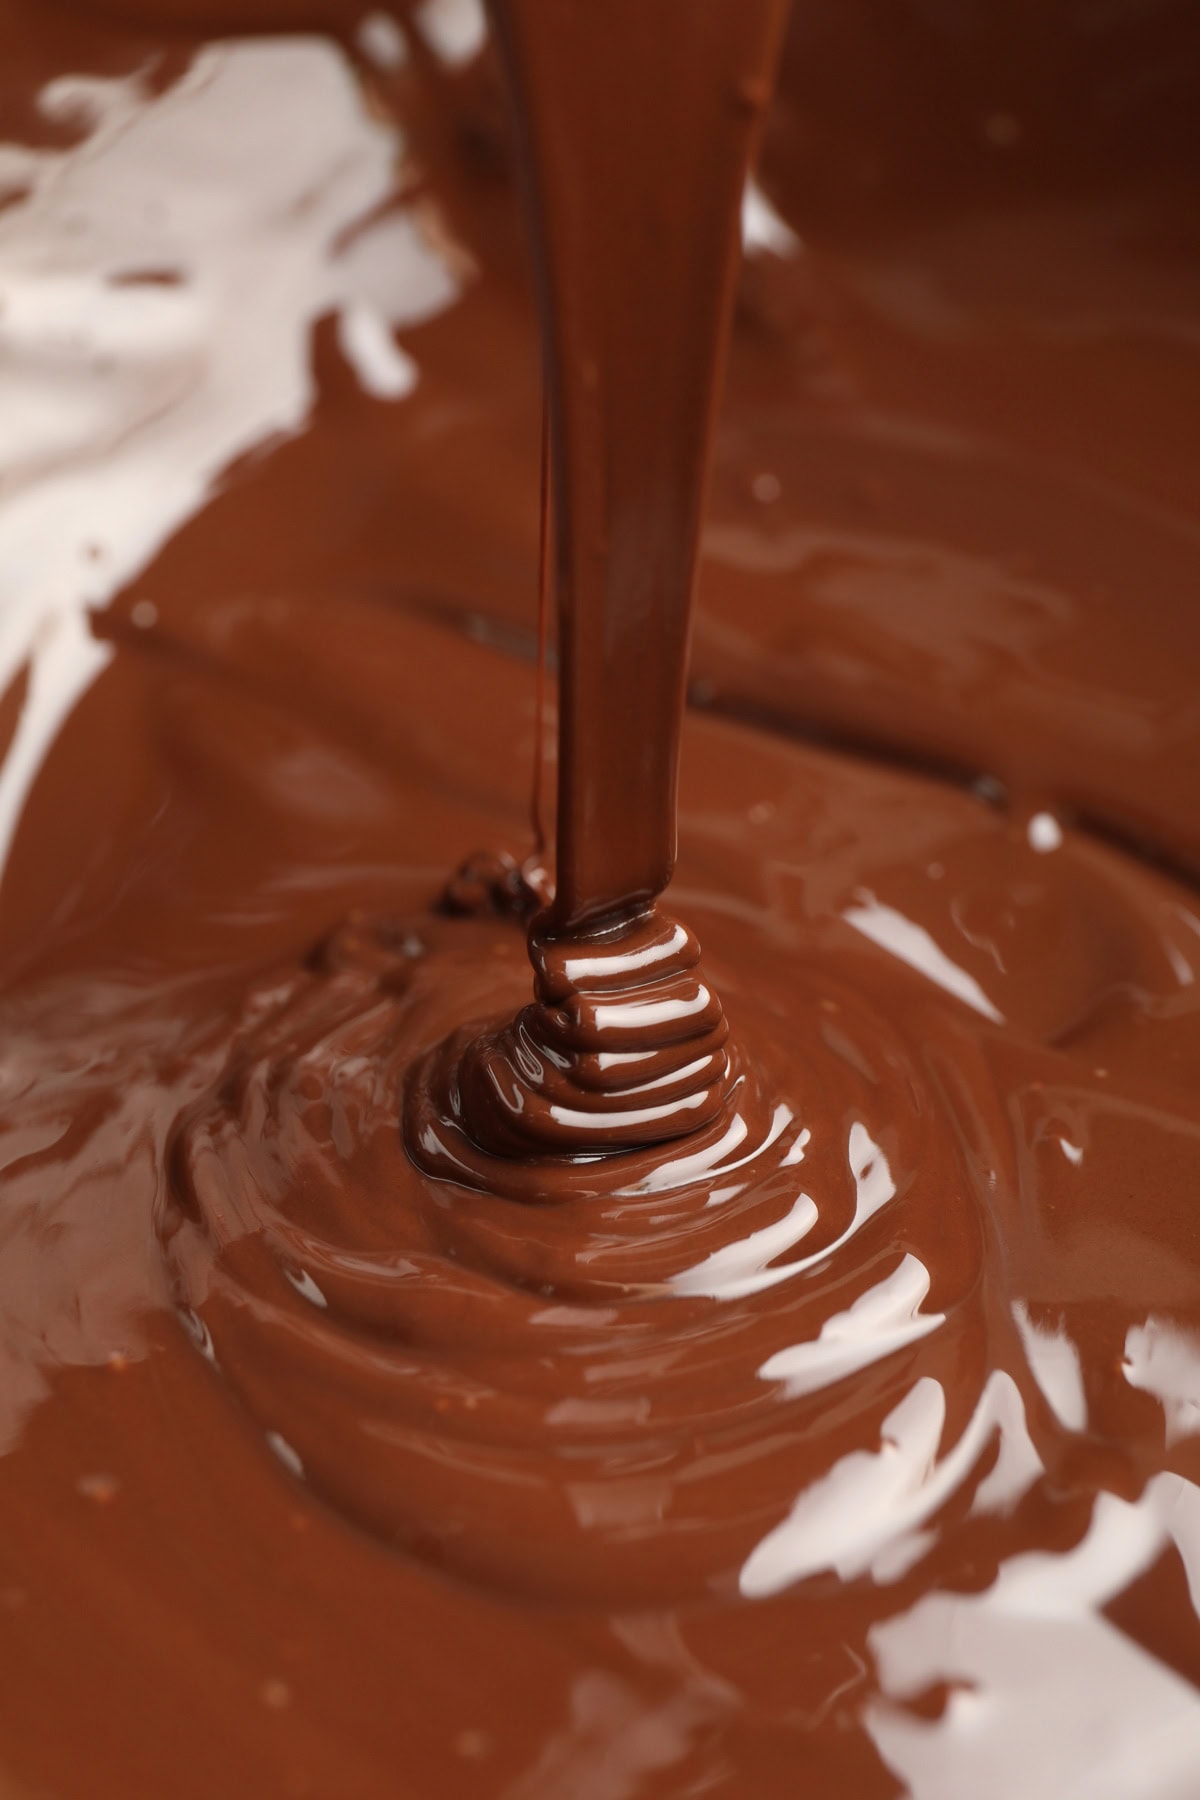
Mmm...Chocolate
It’s beautiful. It’s messy. It’s finicky. And when it’s done right, it’s pure chocolatey goodness.
I don’t pretend to be a chocolatier; chocolate is truly its own art form. But through plenty of trial, error, and chocolate-covered adventures, I’ve picked up a few reliable tricks that can help you create your own chocolate art or simply melt chocolate successfully for dipping and decorating.
The Art of Melting Chocolate Table of Contents
The Golden Rules of Melting Chocolate
At its core, melting chocolate comes down to a few golden rules: low and slow heat, absolutely no water or alcohol, and chocolate chips are not suitable for melting.
1. Low & Slow Heat
Chocolate does not like high heat, but it loves to be stirred. When melting chocolate, gentle heat and frequent stirring are key. Overheating is the fastest way to ruin chocolate, and taking the low-and-slow approach helps you achieve smooth, glossy results without scorching.
2. No Water or Alcohol—Ever
Chocolate and moisture do not mix. Even a small amount of water or alcohol can cause chocolate to seize, turning it into a thick, grainy mess that’s impossible to work with.
3. Say No to Chocolate Chips
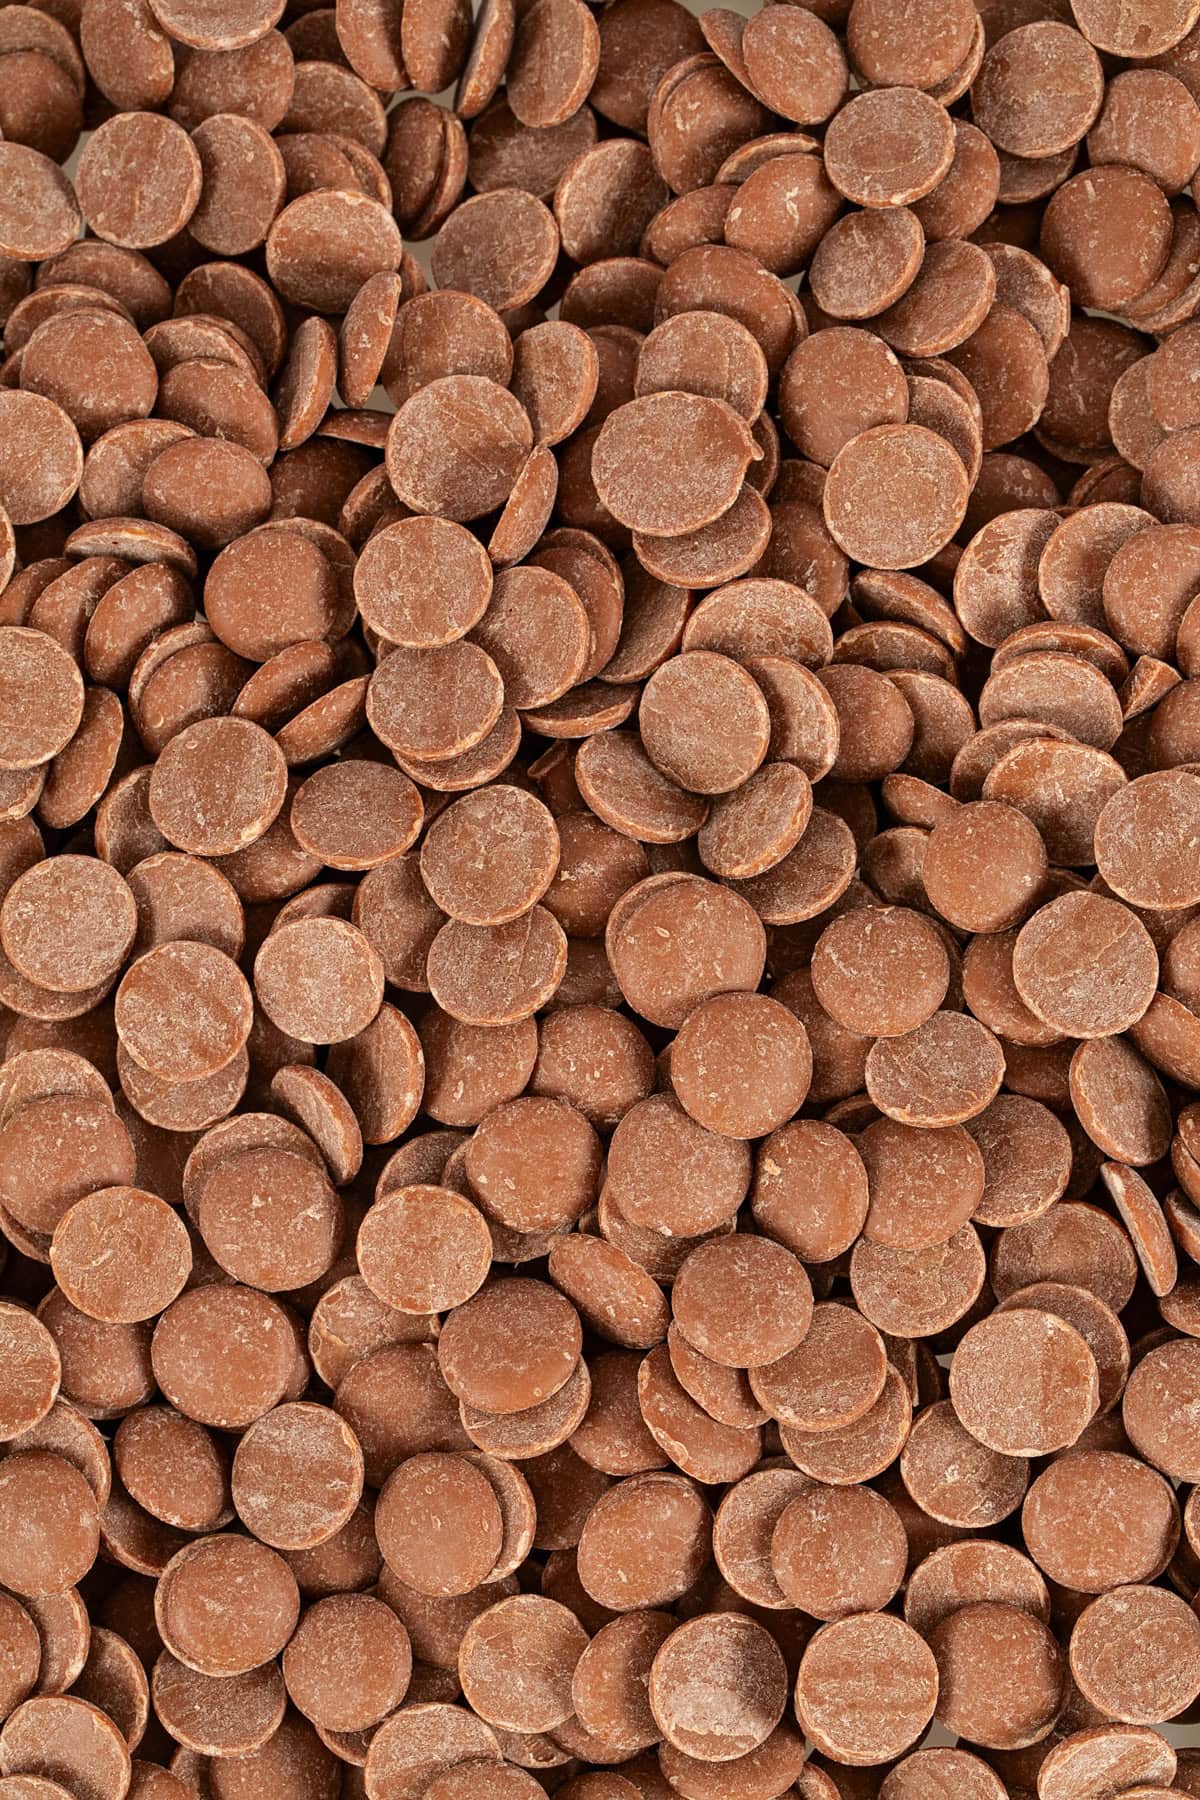
Despite their name, chocolate chips are not meant for melting. They’re designed to hold their shape (hello, chocolate chip cookies). Instead, reach for baking chocolate from the baking aisle or cocoa-flavored candy wafers.
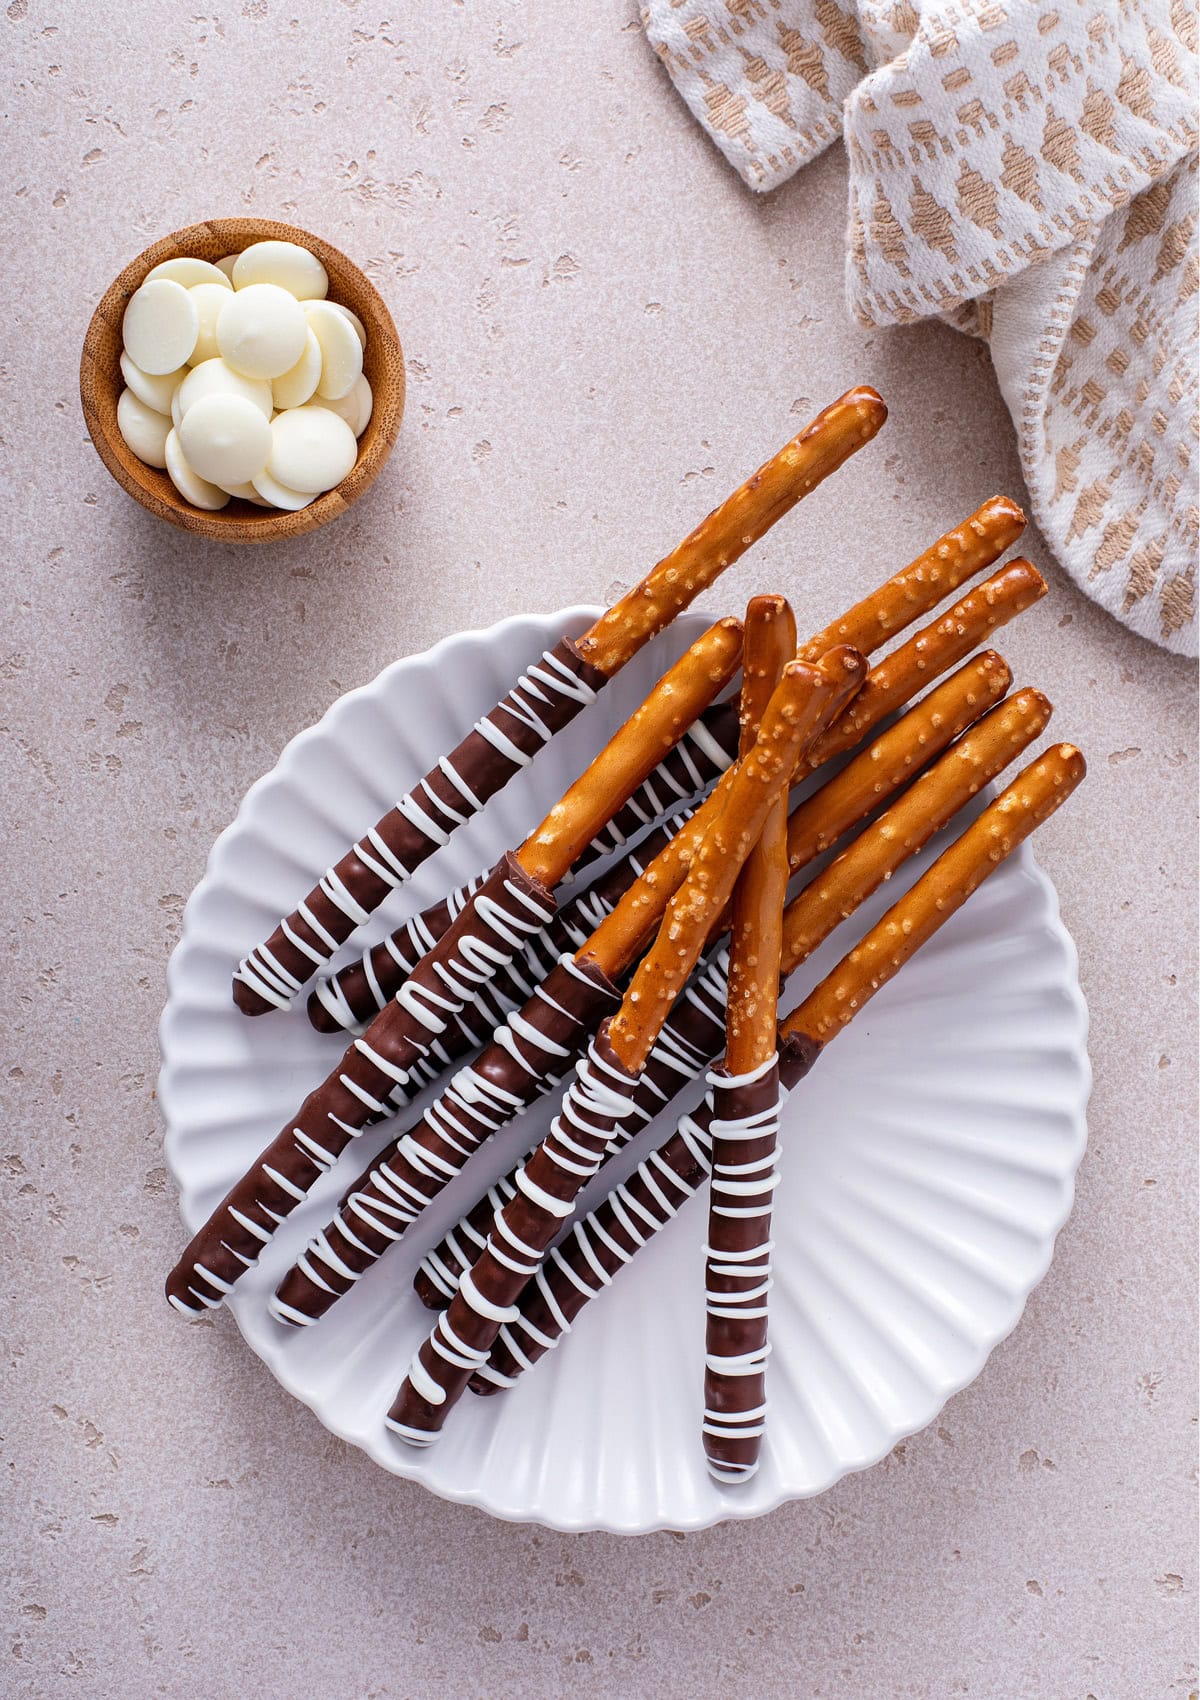
Candy wafers are chocolate-flavored candy specifically designed for melting and coating. They’re especially beginner-friendly and great for dipping treats. You’ll find them at baking supply stores, some big-box stores, or online.
The Finicky Part: Sugar and Fat Bloom
If you’ve ever noticed grey or white speckles on hardened chocolate, you’ve encountered sugar bloom or fat bloom.
Sugar bloom happens when moisture touches the surface of chocolate. The sugar dissolves, then recrystallizes as the moisture evaporates, leaving behind that dull, speckled appearance. This often happens in humid environments or when chocolate is moved too quickly from cold to warm temperatures (like from the refrigerator to the pantry).
Fat bloom looks very similar and occurs when the cocoa butter separates from the chocolate. The causes are nearly identical: humidity and rapid temperature changes.
While bloom can ruin the appearance of chocolate (and any beautiful chocolate work you’ve done), it’s still perfectly safe to eat. The texture may be slightly grainy, but the chocolatey flavor is still there.
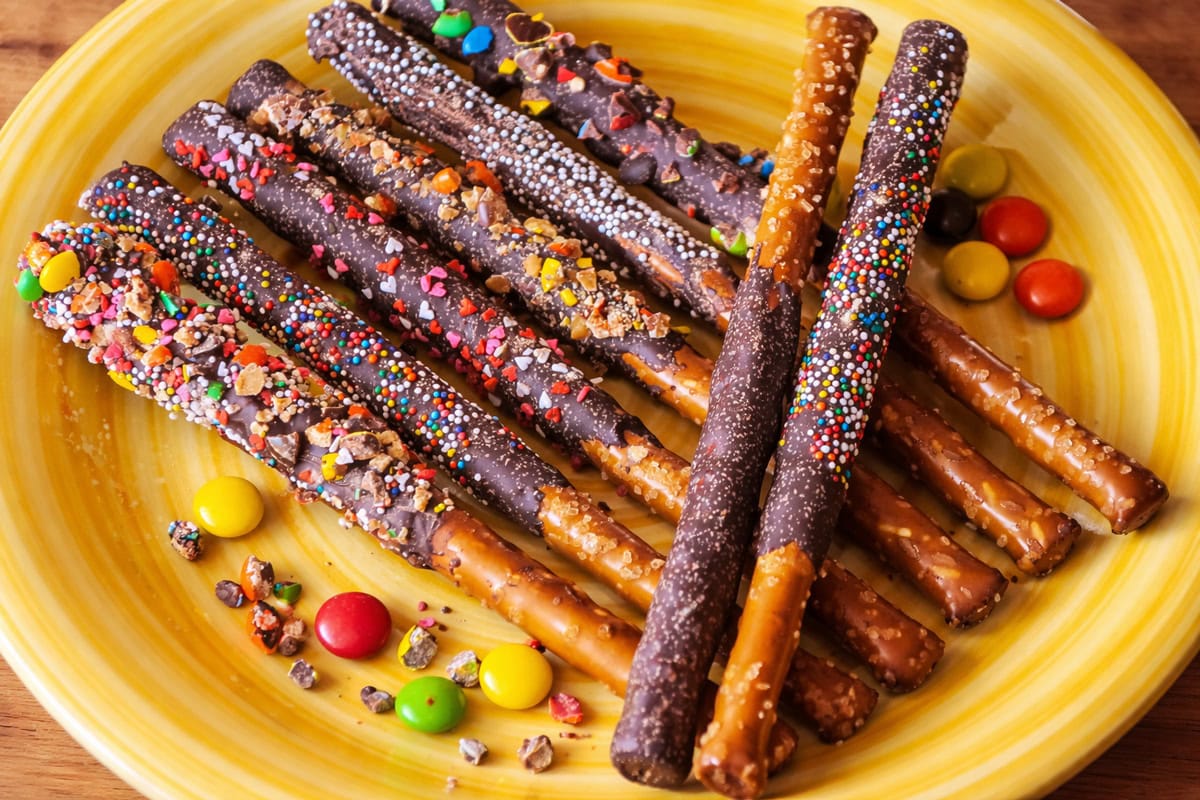
Ways to Melt Chocolate
There’s more than one way to melt chocolate, and the best method depends on your comfort level and how much control you want over the process. No matter which you choose, following the basic rules of melting chocolate will help you achieve the best results.
Microwave
Melting chocolate in the microwave is quick and convenient, but it requires patience. Heat the chocolate in short intervals (15–30 seconds at a time), stirring well between each round. Chocolate holds its shape even as it melts, so stirring is essential to prevent overheating and scorching.
Double Boiler
A double boiler is a classic and reliable method. This method involves placing chocolate in a heat-safe bowl set over a pot of simmering water, which provides even heat and reduces the risk of burning. Just be sure the bowl never touches the water and keep steam and condensation away, as even a drop of moisture can cause the chocolate to seize.
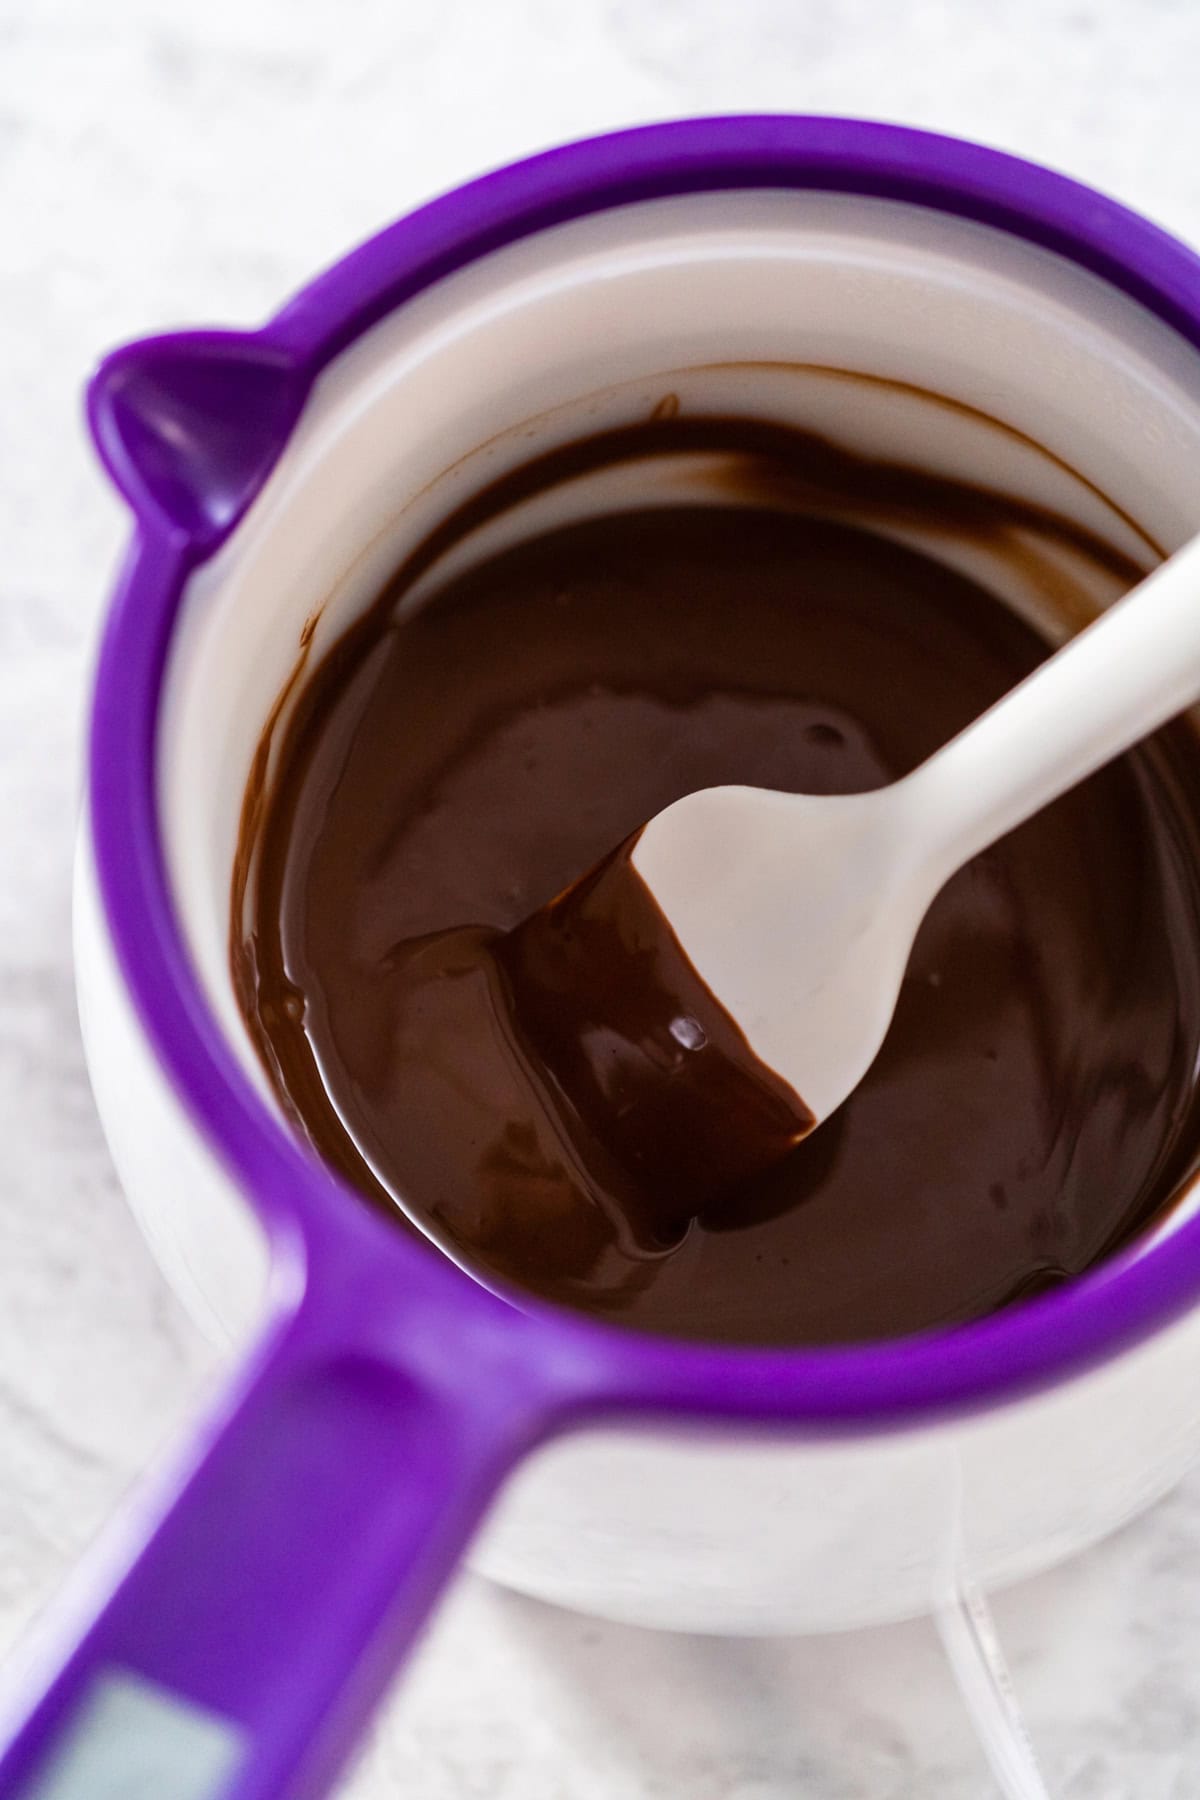
Melting Pot
Electric melting pots are designed specifically for chocolate and candy wafers, also known as candy melts. They maintain a consistent low temperature and are ideal for dipping, coating, and longer decorating sessions. This method is especially helpful when you need chocolate to stay melted for extended periods of time.
Proper Chocolate Storage
Chocolate is surprisingly absorbent, meaning it will pick up surrounding odors. To avoid chocolate that tastes like last night’s garlic chicken, store it tightly wrapped and away from strong-smelling foods.
For best results—and to prevent bloom—store chocolate at 65–68°F with no more than 55% humidity. When stored properly, milk and white chocolate can last up to six months.
Chocolate is an art, a science, and sometimes a bit of a mess. Once you understand the basics of melting chocolate, the process becomes far less intimidating and a lot more fun. With the right approach, melting chocolate can be simple, satisfying, and delicious.
If you’re a fellow chocolate lover, be sure to check out Fun Facts About Chocolate for even more sweet inspiration. Happy Baking!


Leave a Comment